7 Common Espresso Mistakes Beginners Make (and How to Fix Them)
Espresso looks simple: hot water, fine coffee, a small cup. Then you pull your first shot and it tastes like lemon juice or burnt toast, and the machine suddenly seems to have opinions nobody warned you about.
Most beginner problems are not mysterious. They fall into a handful of patterns, and each one has a correction you can make in a minute or two, usually with a grinder adjustment and a little patience. Here are the seven that show up most often on home counters, and how to work through them in the order that actually solves things.
Sour, Thin Shots: Grind Finer Before Anything Else
If the shot tastes sharp, lemony, or leaves your mouth feeling scraped and hollow, it is almost certainly under-extracted. Water moved through the puck too quickly, pulling acids out of the coffee before the sugars and body had a chance to follow.
Work through the corrections in this order, and only one at a time:
- Grind finer, in the smallest step your grinder allows. One click on a stepped grinder, a small nudge on a stepless one. Pull another shot.
- Keep the dose the same while you do this. Changing grind and dose together tells you nothing.
- If you are already at the finest setting, raise the dose slightly or stretch the yield, for example from 18 g in and 36 g out to 18 g in and 42 g out.
- Check your brew temperature. Medium roasts generally sit well around 92 to 94 °C; lighter roasts often want a degree or two more.
Tamping harder will not fix sourness. Tamp is for levelling the bed, not for squeezing flavour out of it. The grind does that work.
Bitter, Dry Shots: The Correction People Skip
The opposite problem tastes bitter, dry, ashy, sometimes flat like cardboard. Water stayed in contact with the coffee too long, or at too high a temperature, and the pleasant compounds have been stripped past their best point.
Go coarser in small steps. Shorten the yield, so an 18 g dose ends at 32 g rather than 36 g. Drop the temperature a degree or two. If the beans are a very dark roast, they will extract faster than you expect, and the grind has to be noticeably coarser than with a medium roast.
Be careful with the word strong. A shot that punches you in the face is not necessarily well extracted; it may simply be over-extracted and small. And if you have been grinding finer and finer to chase away sourness, you have probably overshot into bitterness without noticing where the balance point was.
Channeling: When Water Takes the Shortcut
Channeling gets blamed for everything, but the signs are fairly clear. The shot starts slow and then suddenly races. Liquid sprays sideways from a bottomless portafilter. The stream goes blond and watery well before the end. The spent puck has a crater, a crack, or one dark hole off to the side.
What is happening is simple: water finds the path of least resistance. It drills through a weak spot in the puck and leaves most of the coffee untouched, so you get sour and bitter in the same cup. The usual causes are clumps from the grinder, uneven distribution, a tilted tamp, or a dose so high that the puck touches the shower screen and cracks when the water hits.
A reliable puck routine fixes most of it:
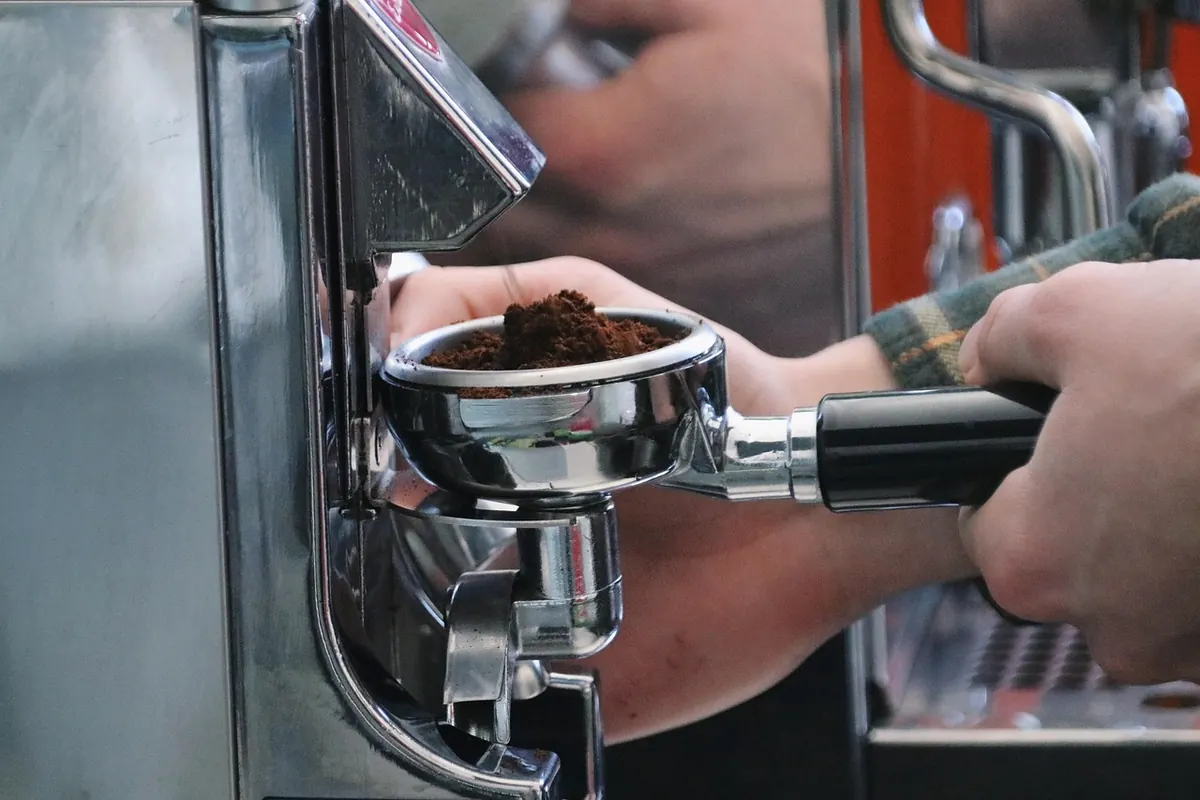
- Weigh the dose into the basket, then level it before you think about tamping.
- Stir the grounds with a needle tool or a paper clip to break up clumps. This takes fifteen seconds and is the single most useful upgrade to your routine.
- Tamp straight down with moderate, consistent pressure. Uneven pressure matters far more than heavy pressure.
- Flush the group head briefly and wipe the shower screen so old grounds do not end up in the new puck.
- Keep the dose low enough that there is a visible gap between the top of the puck and the shower screen.
If your basket is a thin, cheap one with visibly uneven holes, replacing it is money well spent.
Changing Three Variables at Once
The shot is sour, so you grind finer, raise the dose, and bump the temperature. Now the shot is bitter, and you have no idea which change did it. This is the most common way beginners lose an afternoon.
Pick a fixed dose, a fixed temperature, and a fixed yield, then adjust only the grind until the shot tastes roughly balanced. From there, adjust the yield if you want more or less intensity, and leave the grind alone for a while. Two variables at most, one change per shot.
Keep a small note on your phone with the numbers. It feels fussy for a week and then saves you from rediscovering the same setting four times. One detail worth knowing: after you move the grind setting, purge a few grams of beans and throw them away, because the first coffee out of the chute is still the old setting.
Stale Coffee and a Dull Grinder
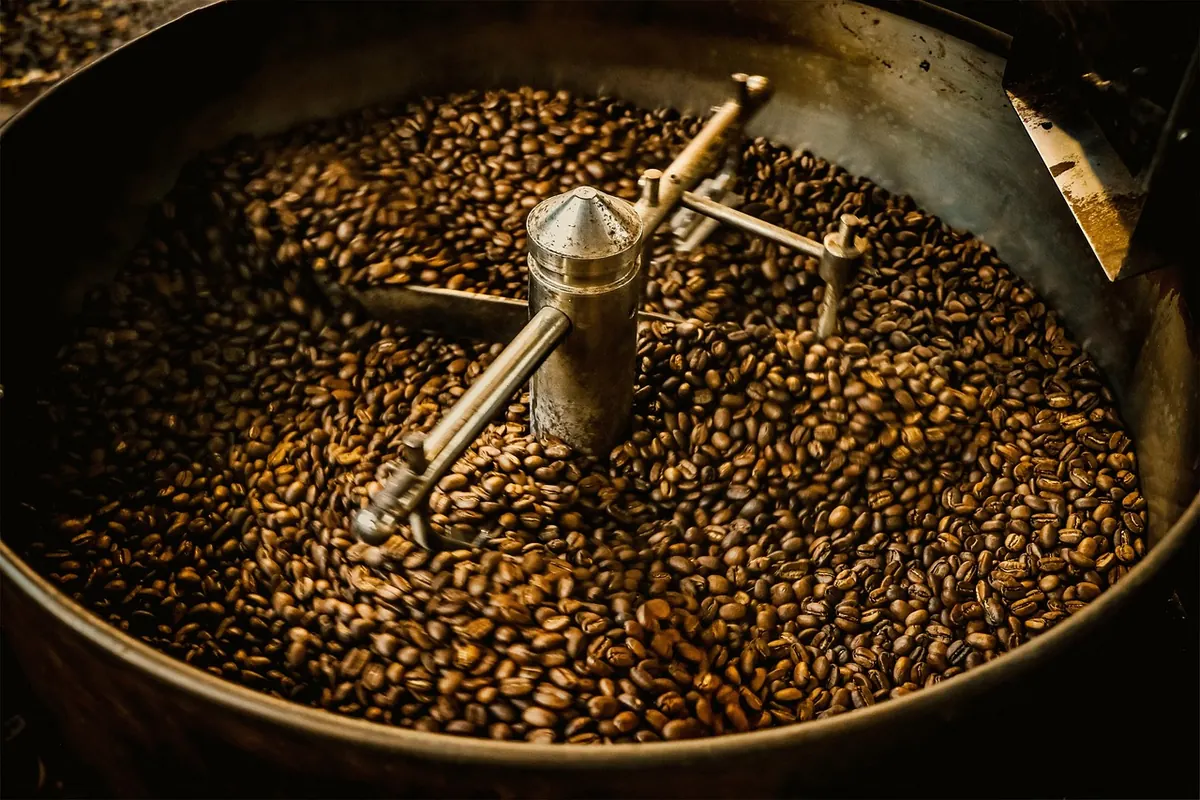
No setting on any machine rescues old coffee. Espresso wants beans that have rested long enough to stop gushing gas, but not so long that the good aromatics are gone. Look for a roast date on the bag, not a best before date, and treat four to six weeks from roasting as the comfortable window. Freshly roasted espresso beans often work best after five to twelve days of rest.
Buy smaller bags than you think you need. Store them airtight, away from light and heat, at room temperature, and not in the fridge where condensation does its work.
Then look at the grinder. A blade grinder cannot do this job, because it produces a mix of dust and boulders that no puck prep can rescue. Burr grinders are the requirement, and a modest burr grinder paired with a modest machine will beat an expensive machine paired with a bad grinder almost every time.
Eyeballing Dose and Yield
The volume in the cup is mostly crema, and crema is mostly air. Judging a shot by how full the cup looks is guesswork. Put a small scale under the cup, dose to within a tenth of a gram, and stop the shot at a target weight rather than a target colour.
A sensible reference point is 18 g in and 36 g out over roughly 25 to 30 seconds, then adjust from there. Lighter roasts often want a longer ratio, closer to 1:2.5 or even 1:3, with hotter water. Darker roasts usually taste better shorter and cooler. Those are starting points, not rules, and taste is the final judge.
Also check your basket type. Pressurised baskets flatter bad grinders but produce a uniform, slightly muted shot, and they hide channeling completely. Single-wall baskets are the way to learn.
Neglecting Water, Temperature, and Cleanliness
Scale is the quiet killer of espresso machines. If your water is very hard, a filter jug or a low-mineral bottled water will do more for your coffee than most equipment upgrades, and filters need replacing on schedule rather than eventually. Descale when the manual says so, not when the machine starts complaining.
Backflush with water regularly if your machine supports it, use detergent occasionally, and clean the shower screen and group gasket. Old coffee oils turn rancid and taste like cardboard, which many people misdiagnose as a grind problem and then chase for weeks. Warm the cup, too. A cold ceramic cup steals heat from a 30 ml shot faster than you would believe.
Build One Repeatable Shot
Choose one bag of beans, one dose, one yield, one temperature, and then change only the grind until the cup tastes balanced. Write down what worked. When you open a new bag, expect to re-dial: the same beans from a new roast date will usually need a small grind adjustment, and a different origin may need a larger one.
Most of the frustration in home espresso comes from changing too much, too fast. Slow down, weigh things, taste deliberately, and let one good shot become a repeatable one. That is the whole craft in miniature.
Photo: motomotosc / Pixabay